• Home
  • Search
  • Browse Collections
  • My Account
  • About
  • DC Network Digital Commons Network™
Skip to main content
Scholarly Commons University of the Pacific
  • Home
  • About
  • FAQ
  • My Account

Home > University Libraries > HASC - Digital Archives > John Muir Papers > John Muir Journals (1867-1913) > All John Muir Journals

All John Muir Journals

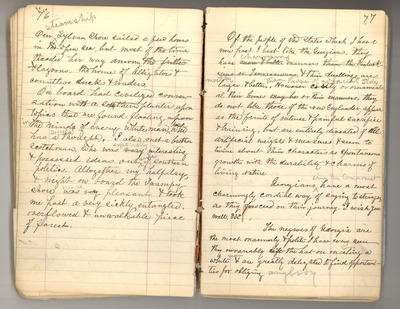
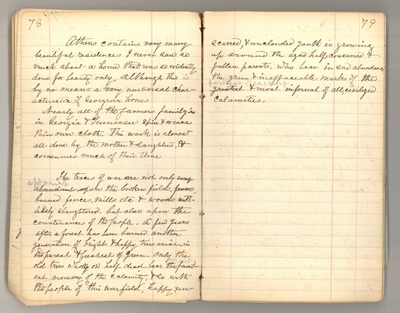
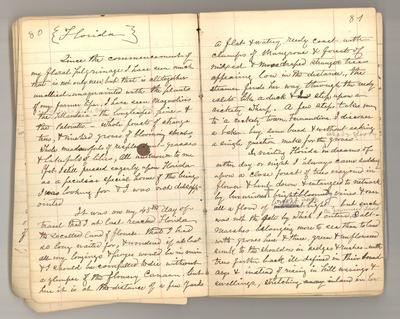
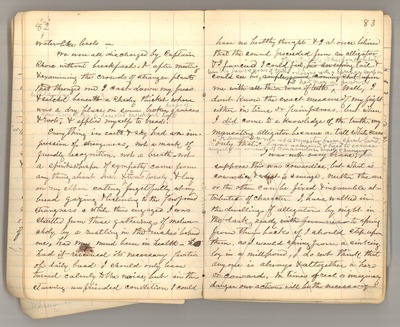
These journals were written by John Muir between 1867 and 1913. They include his 1867-1868 "thousand mile walk," his early years in Yosemite, extensive travels in Alaska, his 1903 world tour, and his 1911-1912 voyage to South America and Africa. The journals offer a unique perspective on Muir's life and experiences in his own words and drawings.

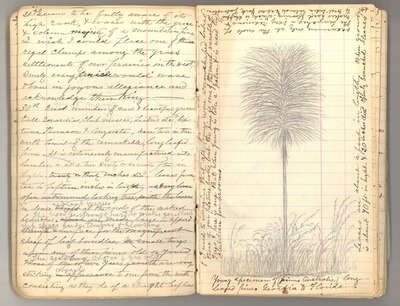
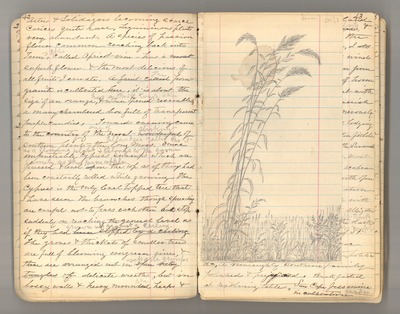
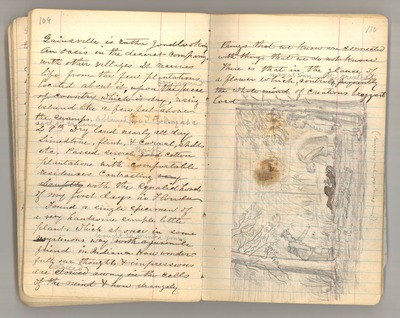
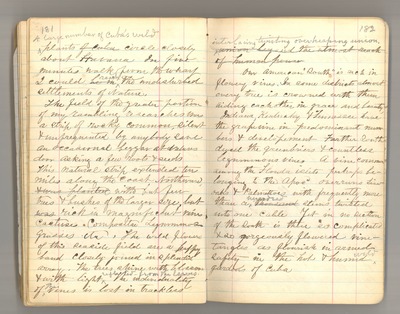
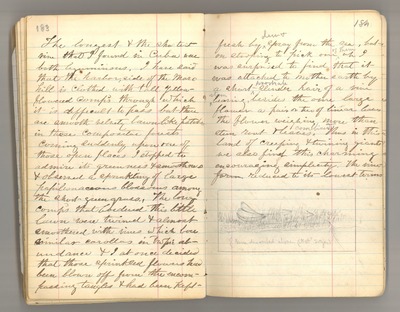
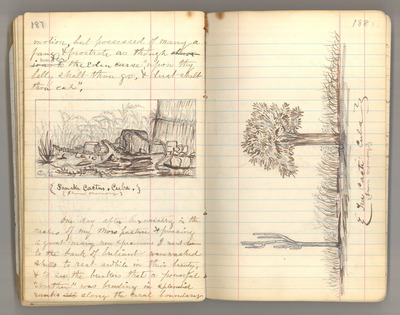
Some of the journals are filled with miscellaneous notes and jotted writings, while others feature diary-like narratives. Similarly, some journals contain only text while others, especially those from his Alaska trips, are full of drawings that reflect the places Muir visited.

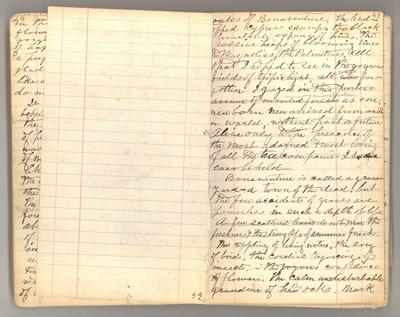
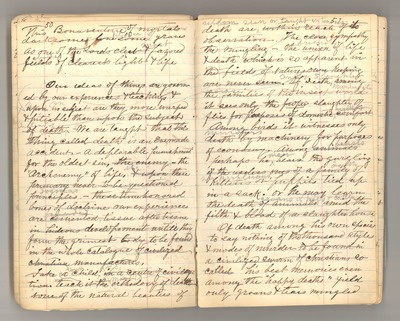
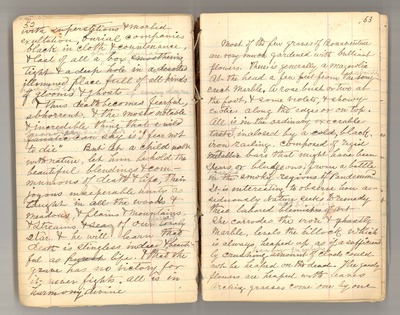
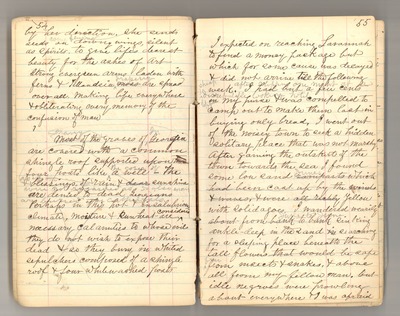
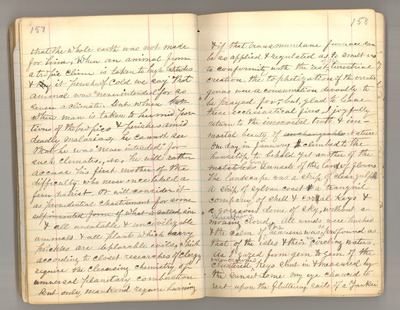
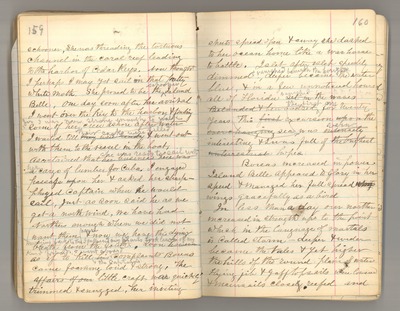
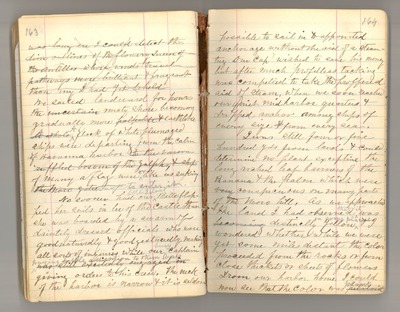
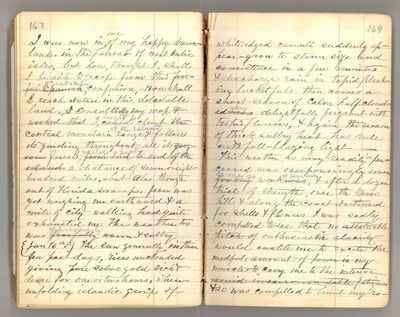
Many, but not all, of the digitized John Muir journals are transcribed. Portions of the journals can be difficult to read because of faded writing, but the zoom feature enables users to magnify pages and improve their legibility. Join our Muir Journal Transcription Project to help.

The "titles" assigned to each journal are taken from the published Guide and Index to the Microform Edition of the John Muir Papers, 1858-1957. These titles convey the general content of each journal, but many of the journals contain a wealth of information beyond the subject indicated in the title. It may be helpful to consult the John Muir chronology for more information on where Muir was during the periods when he was writing various journals.

The unpublished works of John Muir are under copyright by the Muir-Hanna Trust. To purchase copies and/or obtain permission to publish or exhibit items from the John Muir Papers, visit our fees and forms page.

Printing is not supported at the primary Gallery Thumbnail page. Please first navigate to a specific Image before printing.

Follow

Switch View to List View Slideshow
 
  • May-June 1899, Harriman Expedition to Alaska, Part I, San Francisco to Harriman Fiord Image 22 by John Muir

    May-June 1899, Harriman Expedition to Alaska, Part I, San Francisco to Harriman Fiord Image 22

  • May-June 1899, Harriman Expedition to Alaska, Part I, San Francisco to Harriman Fiord Image 23 by John Muir

    May-June 1899, Harriman Expedition to Alaska, Part I, San Francisco to Harriman Fiord Image 23

  • May-June 1899, Harriman Expedition to Alaska, Part I, San Francisco to Harriman Fiord Image 24 by John Muir

    May-June 1899, Harriman Expedition to Alaska, Part I, San Francisco to Harriman Fiord Image 24

  • May-June 1899, Harriman Expedition to Alaska, Part I, San Francisco to Harriman Fiord Image 25 by John Muir

    May-June 1899, Harriman Expedition to Alaska, Part I, San Francisco to Harriman Fiord Image 25

  • May-June 1899, Harriman Expedition to Alaska, Part I, San Francisco to Harriman Fiord Image 26 by John Muir

    May-June 1899, Harriman Expedition to Alaska, Part I, San Francisco to Harriman Fiord Image 26

  • May-June 1899, Harriman Expedition to Alaska, Part I, San Francisco to Harriman Fiord Image 27 by John Muir

    May-June 1899, Harriman Expedition to Alaska, Part I, San Francisco to Harriman Fiord Image 27

  • May-June 1899, Harriman Expedition to Alaska, Part I, San Francisco to Harriman Fiord Image 28 by John Muir

    May-June 1899, Harriman Expedition to Alaska, Part I, San Francisco to Harriman Fiord Image 28

  • May-June 1899, Harriman Expedition to Alaska, Part I, San Francisco to Harriman Fiord Image 29 by John Muir

    May-June 1899, Harriman Expedition to Alaska, Part I, San Francisco to Harriman Fiord Image 29

  • May-June 1899, Harriman Expedition to Alaska, Part I, San Francisco to Harriman Fiord Image 30 by John Muir

    May-June 1899, Harriman Expedition to Alaska, Part I, San Francisco to Harriman Fiord Image 30

  • May-June 1899, Harriman Expedition to Alaska, Part I, San Francisco to Harriman Fiord Image 31 by John Muir

    May-June 1899, Harriman Expedition to Alaska, Part I, San Francisco to Harriman Fiord Image 31

  • May-June 1899, Harriman Expedition to Alaska, Part I, San Francisco to Harriman Fiord Image 32 by John Muir

    May-June 1899, Harriman Expedition to Alaska, Part I, San Francisco to Harriman Fiord Image 32

  • May-June 1899, Harriman Expedition to Alaska, Part I, San Francisco to Harriman Fiord Image 33 by John Muir

    May-June 1899, Harriman Expedition to Alaska, Part I, San Francisco to Harriman Fiord Image 33

  • May-June 1899, Harriman Expedition to Alaska, Part I, San Francisco to Harriman Fiord Image 34 by John Muir

    May-June 1899, Harriman Expedition to Alaska, Part I, San Francisco to Harriman Fiord Image 34

  • May-June 1899, Harriman Expedition to Alaska, Part I, San Francisco to Harriman Fiord Image 35 by John Muir

    May-June 1899, Harriman Expedition to Alaska, Part I, San Francisco to Harriman Fiord Image 35

  • May-June 1899, Harriman Expedition to Alaska, Part I, San Francisco to Harriman Fiord Image 36 by John Muir

    May-June 1899, Harriman Expedition to Alaska, Part I, San Francisco to Harriman Fiord Image 36

  • May-June 1899, Harriman Expedition to Alaska, Part I, San Francisco to Harriman Fiord Image 37 by John Muir

    May-June 1899, Harriman Expedition to Alaska, Part I, San Francisco to Harriman Fiord Image 37


Page 165 of 216

  • 162
  • 163
  • 164
  • 165
  • 166
  • 167
  • 168


Search

Advanced Search

  • Notify me via email or RSS

Browse

  • Collections
  • Disciplines
  • Authors

Author Corner

  • Author FAQ

Links

  • Holt-Atherton Special Collections homepage

Gallery Locations

  • View gallery on map
  • View gallery in Google Earth
University of the Pacific
 
Elsevier - Digital Commons

Home | About | FAQ | My Account | Accessibility Statement

Privacy Copyright